Let’s begin with making a simple experiment and present a single stimulus for 500ms!
All experiments begin their flow from the START node – this is where the flow for the experiment will start – see below.

To display a stimulus for 500ms, what do we need?
- Something to display
- A timer to count the 500ms
To get going, begin by dragging a Display Screen from the Actions tab in the Experiment Toolbar, as shown below.

Now you have dragged your DISPLAY_SCREEN into your workspace, you need to link it to the START item in a linear order. START comes first and then DISPLAY_SCREEN needs to happen next. Simply click on START and drag the mouse to DISPLAY_SCREEN and an arrow will appear linking the two together, as below.

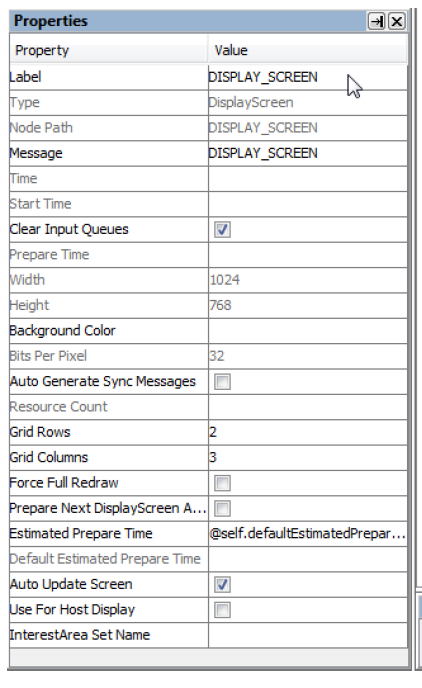
When you drag a DISPLAY_SCREEN onto a workspace, it gets called “DISPLAY_SCREEN” by default. But often this isn’t very helpful, and you’ll want to rename it to something meaningful.
To rename the one you just created, click on DISPLAY_SCREEN and the side panel displaying the Properties will change to show the properties for this DISPLAY_SCREEN, see below. Change the “Label” property to something meaningful for you later on to be able to identify it. Here you can also set a “Message” property that will be useful when you are making eye-tracking experiments.
By default, the DISPLAY_SCREEN will consist of a blank white display. Let’s add something to it!
- Double click your DISPLAY_SCREEN and the contents of the screen will be shown. It will be empty to begin with.
- Next, click on Insert Text Resource
- Finally, click on the blank screen and type whatever you wish to display
These steps are shown below.

Notice that we now have a new tab on the top of the workspace called DISPLAY_SCREEN. You can click on Experiment to return to your main experiment workspace.

Now we have ourselves a display, but we still need a timer to count the 500ms. To add this, go to the Trigger bar and drag down a TIMER trigger. Then, link it to the DISPLAY_SCREEN, as shown below.

Now we need to tell the TIMER how long to last for. Click on the TIMER and go to the Properties panel on the left side. Begin by inserting a message (“TIMER_MESSAGE” or something similar).
Finally, change the Duration property to 500. The TIMER will now trigger after 500ms, which is what we want.

Notice the structure of the experiment – the panel towards the upper left of the display – has changed to reflect what you have added. It now contains hierarchy of nodes and the DISPLAY_SCREEN also contains a TEXT_RESOURCE, as shown below.

Now that the basics are set up, it’s time to run the experiment! It’s a good idea to get into the habit of beginning by building the experiment before running it. To do this, click the Build button. A new tab will appear called Output and this will show you if the build is successful or if there are any errors, as below.

Since our Build was successful, we can now Test Run the experiment to see what it looks like, following the steps below. As the warning notes, you shouldn’t use this when you are running the experiment for real, as it will delete all the data gathered up to that point from participants and trials. If all is well, you should see your text for 500ms and the experiment will then end.

Congratulations! You now have your first working study in Experiment Builder.